Monday, March 23, 2015

First Experiment - Digital Temperature and Humidity Sensor(DHT22) + Wifi Yun Shield(Dragino)

Preparation:


  1. DHT22 Digital Temperature and Humidity Sensor: I bought this one from Amazon.


  2. Arduino with bread board: This one on Amazon seems to be reasonable.

  3. Arduino IDE: You can follow this instruction to set up.
  4. I wired the DHT22 sensor to Yun Shield as shown below. If you are not using Yun Shield, then just wire it like this tutorial(basically they are the same wiring).


Coding:


Test Sensor:
  1. Download Arduino sketch for DHT11DHT22
  2. Load it to Arduino via Wifi(see how in my previous post). 
  3. Now we need to change all serial API calls to console API calls. Since we don't have any USB connect to the Arduino+Yun Shield, Console.print will allow us to see all string output via Wifi instead of serial port.
    ex.
    #include <Bridge.h>
    Bridge.begin(); // Make contact with the linux processor from UNO. This must be added before the Console API
    Serial.begin(9600); => Change to Console.begin();
    Serial.println("xxxxx"); => Change to Console.println("xxxxx"); 
  4. Compile and run again to make sure we can see logs from the serial monitor console.
Test Web Server:
Now we need to create a web HTTP server so we can view Temperature and Humidity changes via a browser.
  1. Get an USB drive and create a directory structure under the root. /arduino/www
  2. Create an index.html file and put under www folder. It's content can be as simple as <h1>Hello!</h1>
  3. Plug in the USB drive to the Yun Shield. Now open a browser and enter your Arduino's IP address.ex. http://192.168.1.99/sd/ => This will show /arduino/www/index.html in the USB drive.
  4. If it does not work, ssh to your Arduino and see if you can find the folder and the html file as below.



Reference:


  1. https://plot.ly/arduino/dht22-temperature-tutorial/
  2. http://www.open-electronics.org/interact-and-remotely-control-arduino-yun-with-ajax/

Arduino + Yun Shield(Dragino Yun Shield)

Preparation:


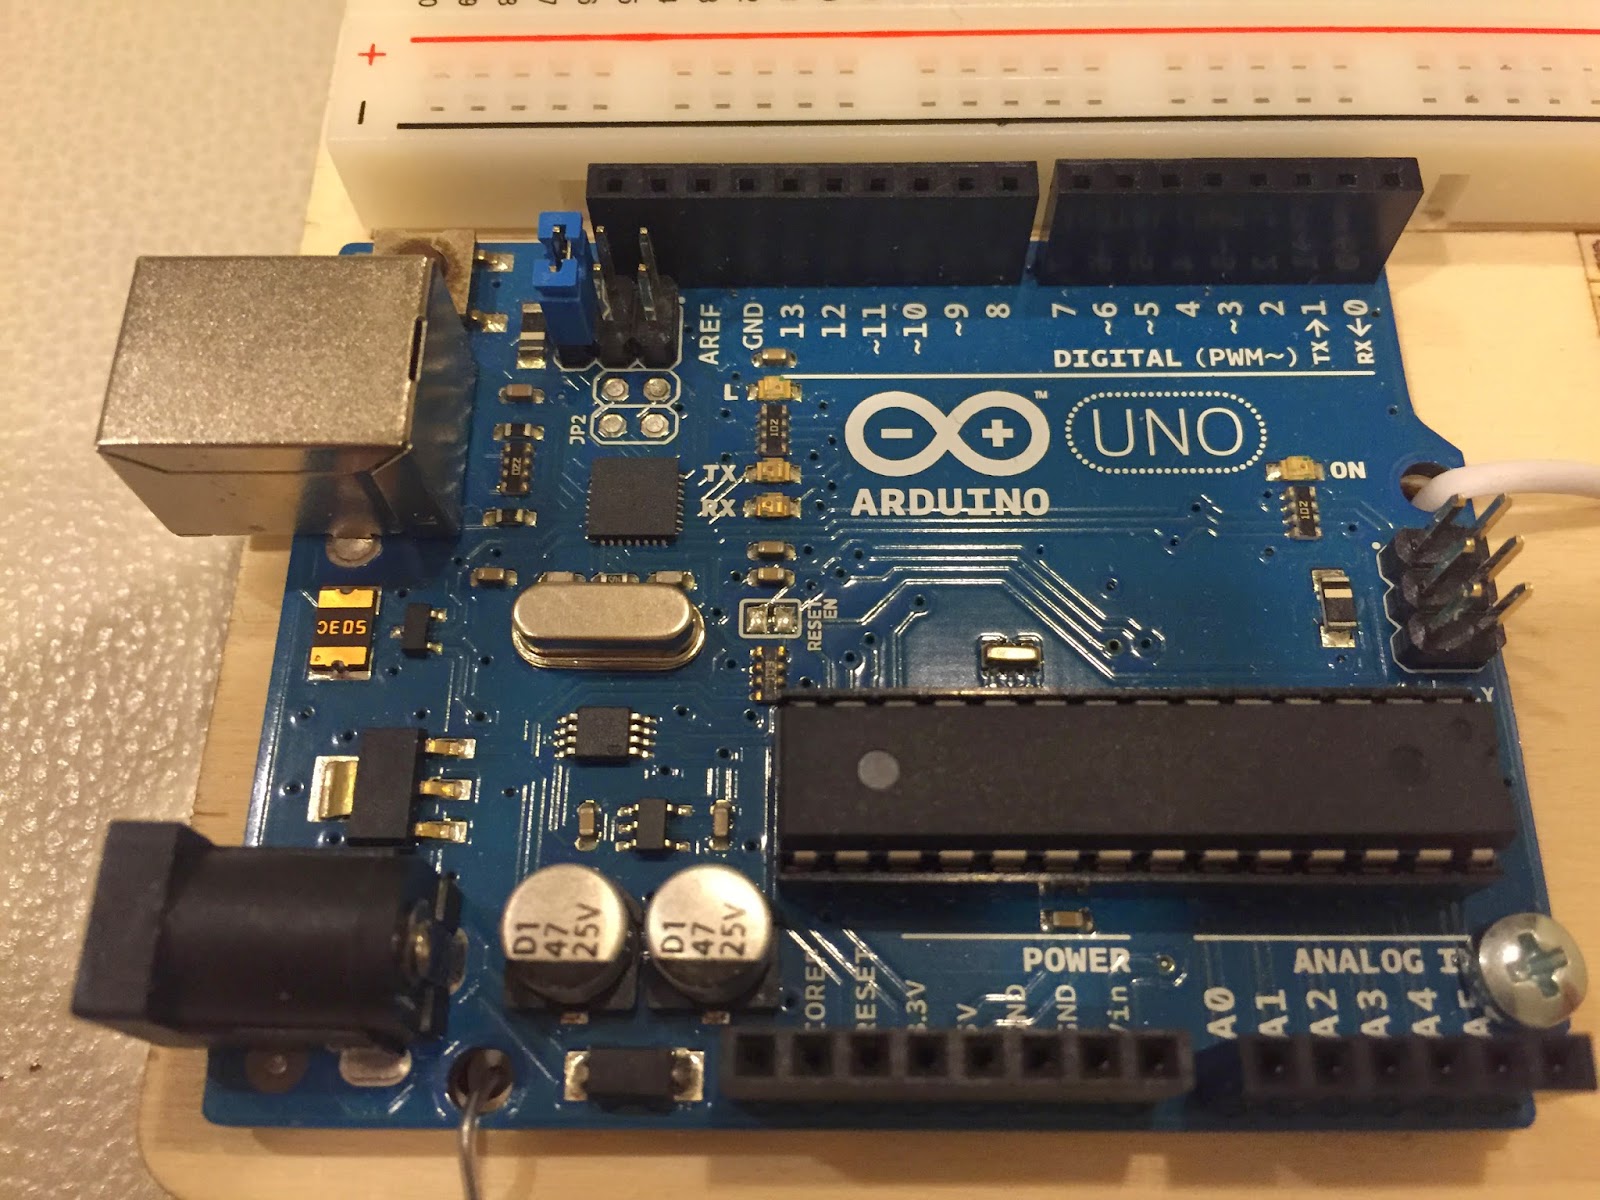
  1. Arduino UNO board. Need to shortcut those two pins shown in the photo below to avoid issues with Yun Shield's bridge feature. See detail.
  2. Yun Shield.
  3. Connect both together.
  4. Yun Shield requires DC power. When Yun shield is in used, the Arduino board should be powered by DC port instead of USB port. See detail.


Setup:


  1. Follow this wiki to configure the Yun Shield. After finishing the setup, launch Arduino.app.
  2. When running Arduino.app on Mac, Board Type in its menu will show "Arduino Yun", "Arduino UNO", and others. However, the actual board type I expect is "Arduino UNO - Dragino Yun".
  3. After looking for the custom board type on the internet, I found this.
  4. Then I downloaded this boards.txt and put it in my Arduino project folder's hardware/arduino/avr/ folder. After re-launching Arduino.app, now I can see the new board types showed up.

  5. I then load the example(ConsoleRead) to see if everything works. However, I got an error message saying "/Applications/Arduino.app/Contents/Resources/Java/libraries/Bridge/src/Bridge.h:22:21: fatal
    error: Arduino.h: No such file or directory
    #include <Arduino.h>"

  6. I scratched my head for a while and trying different solutions. Finally, I figured out that I need to copy all related files from the Arduino.app's resource folder to my own Arduino project root's hardware folder.

    Source:


    Destination:
  7. Then I re-compiled and upload the ConsoleRead sketch to my Arduino via Wifi (no USB connection is needed). Everything works just fine!