Preparation:
- DHT22 Digital Temperature and Humidity Sensor: I bought this one from Amazon.
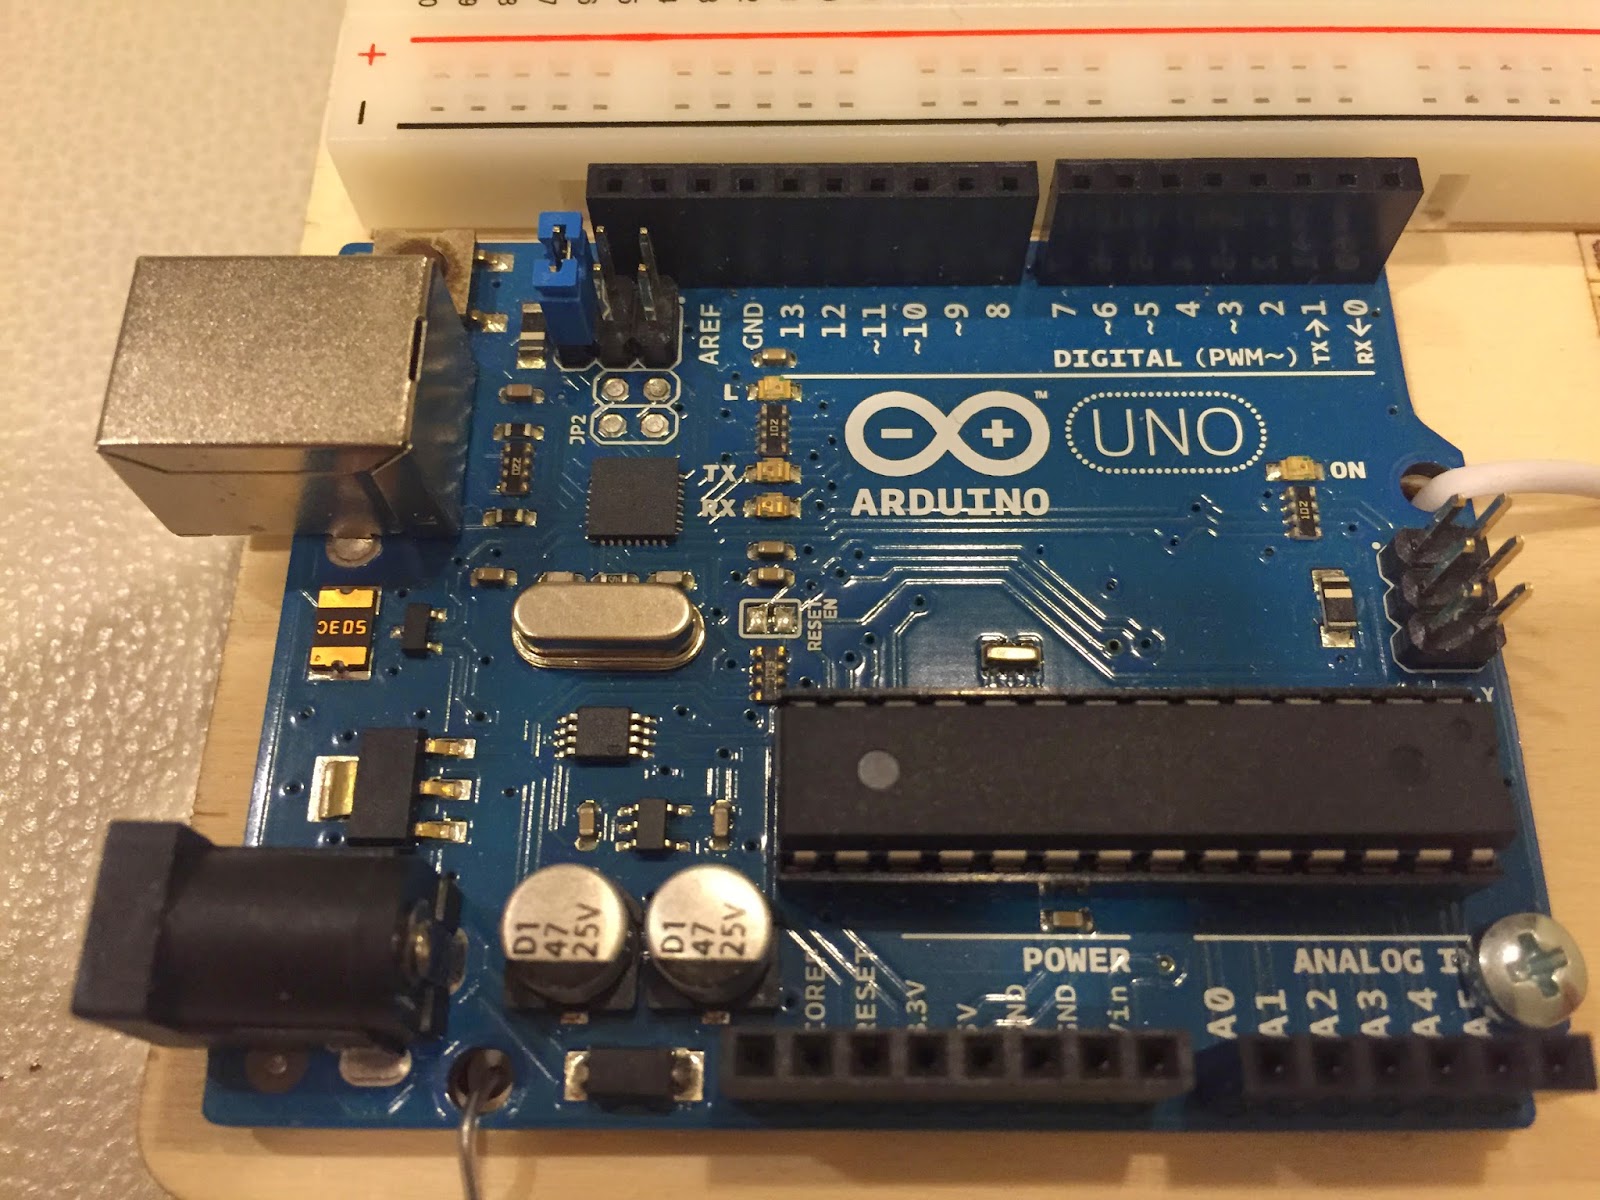
- Arduino with bread board: This one on Amazon seems to be reasonable.
- Arduino IDE: You can follow this instruction to set up.
- I wired the DHT22 sensor to Yun Shield as shown below. If you are not using Yun Shield, then just wire it like this tutorial(basically they are the same wiring).
Coding:
Test Sensor:
- Download Arduino sketch for DHT11DHT22.
- Load it to Arduino via Wifi(see how in my previous post).
- Now we need to change all serial API calls to console API calls. Since we don't have any USB connect to the Arduino+Yun Shield, Console.print will allow us to see all string output via Wifi instead of serial port.
ex.
#include <Bridge.h>
Bridge.begin(); // Make contact with the linux processor from UNO. This must be added before the Console API
Serial.begin(9600); => Change to Console.begin();
Serial.println("xxxxx"); => Change to Console.println("xxxxx"); - Compile and run again to make sure we can see logs from the serial monitor console.
Now we need to create a web HTTP server so we can view Temperature and Humidity changes via a browser.
- Get an USB drive and create a directory structure under the root. /arduino/www
- Create an index.html file and put under www folder. It's content can be as simple as <h1>Hello!</h1>
- Plug in the USB drive to the Yun Shield. Now open a browser and enter your Arduino's IP address.ex. http://192.168.1.99/sd/ => This will show /arduino/www/index.html in the USB drive.

- If it does not work, ssh to your Arduino and see if you can find the folder and the html file as below.


No comments:
Post a Comment